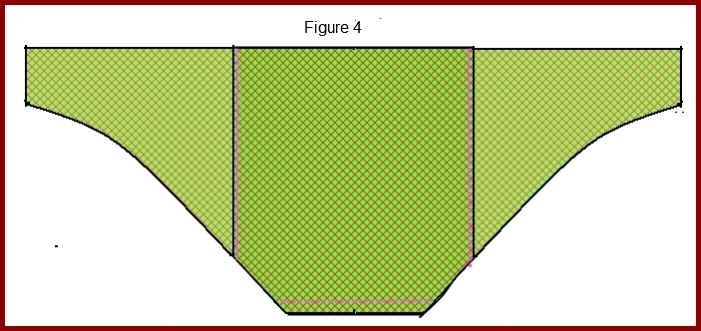
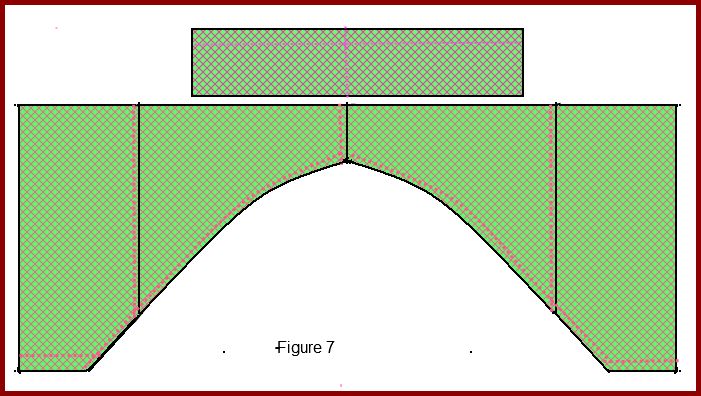
Sari blouse is worn along with a sari, as its name suggests. As soon as a sari is bought matching blouse is stitched. Blouse can be of the colour of the border of the sari or the colour of body of the sari. People who are short it is advisable to wear the blouse that matches the body of the sari. Contrast colour blouses can be worn along with plain sari. Blouse with cute prints looks good with a plain sari. Sari blouses should be created with a full opening either in the front or in the back.
There are many varieties of blouses. They may have long or short sleeves or sleeveless and the blouse length can vary from very short to waist length with varieties of necklines and back patterns.
Sari blouse is a tight fitting garment. It should be custom made. I have explained here the basic method of drafting a sari blouse. It is advisable to prepare a paper draft and then the fabric is cut. A trial blouse is stitched first with a cheap material. There might be some wrinkles here and there which can be corrected in the paper draft while stitching the next blouse. The difficult part in stitching sari blouse is attaching the sleeves to the body. I feel it is better to attach the sleeves to the body with running stitch. Stitch the sides of sleeves and sides of the body also with running stitch. Wear the blouse and check for any wrinkles. Corrections can be made at this point. When you are satisfied with the fitting machine stitch the blouse. Thus the blouse draft can be standardized
Measurements needed
Chest
Full length of the blouse
Shoulder
Sleeve length
Sleeve round
Front length-Measured from shoulder along the highest point of bust
to where bra cup ends.
For taking body measurements please refer
here and also the figure 1.
Front
A to B= front length + ½”.
A to C = ½ shoulder + ¼”.
On the line A-B mark D such that A-D =¼ chest -1¼” or 1½”.
A-D is called scye depth. It varies with chest measurement. It can be calculated using the chest measurement.It can also be measured directly on the body. It is measured from the nape of the neck downwards to a line that joins armpits. refer Figure 1
Scye depth for various breast measurements
28” to 30” =¼ chest-¾’ to 1”
31” to 33” =¼ chest-1” to 1¼”
34” to 36” = ¼ chest-1½” to 2”
37 “ to 39” = ¼ chest- 2¼” to 2¾”
40 to 42 = ¼ chest-3” to 3½”
Draw perpendicular lines from the points D and B to the line A-B.
On the line A-C mark G such that A-G =the neck width = 1/8th chest or to taste.
Mark H on A-B such that A-H =neck depth =1/8th chest or to taste.
Shape front neck curve H-G.
Mark D-E=¼ chest +1 +1/2".
Mark F such that B-F = D-E.
Produce D-E to K such that E-K=. ½”.
Mark L on B-F such that L-F =½’
Join K-L.
On the line D-E mark point I such that D-I = ½” less than A-C.
Join I-C .On the line I-C mark point R such that C-R =½” or ¾”. Join G-R.
On the line I-C mark a point J such that I-J =1”.
Shape the scye round R-J-E-K.
On the line D-E mark a point S such that D-S =1/12th chest +¾”.
On the line A-B mark point M such that B-M =1”.Join M-L by a curved line as shown in the figure.
Drop a perpendicular from the point S. This line meets the curved line M-L at P. On this line Mark point T which is the bust point It can be marked in two ways.
Method 1
Mark T such that distance S-T=1/8th chest-1½”.
Method 2
Actual bust length is measured from the shoulder line to the highest point of the bust. Mark T along the line U-T passing through S such that U-T is equal to is the bust length.
Darts
All the darts should point towards the bust point T and end 1/2" away from T.
Mark N on the line A-B such that D-N =S-T. Take ½” or ¾” dart
At point P a dart of 1¼” to 2” dart of required length is taken
On the line K-L mark a point O such that O-L = 1” take a dart of ¾” wide and of required length.
At the point J take a dart of ½” wide of required length.
Belt
U-V= Full length of the blouse –Front length +½”.
V-W =B to F -1½”( size of the dart taken).
W –X =U-V -1”.
Shape the curve U-X identical to the curve M-L.
Y-W= ½”.
Join X-Y..
Back
A-B =Full length of the blouse +1”
A-D is scye depth = same as scye depth of front the blouse.
Draw perpendiculars from A,D and B.
A-C= ½ shoulder + ¼”.
Mark D-E=¼ chest +1½”.
Mark F such that B-F = D-E.
I- F=½” .Join E-I.
On the line A-C mark G such that A-G =the neck width = 1/8th chest or to taste.
Mark K on A-B such that A-K = Back neck depth =1/12th chest or to taste.
Shape back neck curve K-G.
On the line D-E mark H such that D-H = A-C. Join H-C.
On the line H-C mark a point R such that C-R =1”.
Shape the Back scye round R-E.
B-L=1/12th chest +½”. A dart L-M of ½” width and of required length is taken here.
Sleeves
A-B= sleeve length + ½”.
K-A =1"for folding.
From the points B , A and K draw perpendiculars.
B -C is as A-D = scye depth of the body taken while drawing body draft + ½" to 1½ “.
For smaller sizes B-C is equal to the scye depth .
B-C =K-L.
Join C-L.
Mark D on the line C-L such that D-C =1/8th chest -½”. It should be between 3 to 3½”
B-J = 1”.
Join D-B .F is the middle point of D=B . F-H =¾”
G is the middle point of D-F. I-G= ½”
Shape the front scye curve of the sleeves D-I-F- J-B and Back scye curve of the sleeves D-H-J-B.
A-E = ½ sleeve round + 1" for seams.Join L-E.
Parts of a blouse

Prepare the draft and separate each part.Label all pattern pieces..Mark" place on fold" on the center-line of the back.Add 1/2" extension along the line of opening of the front to attach button-stands.(shown by shaded area)Mark the center of sleeve top.
Place the parts of the draft on the fabric and cut the parts
Stitching
Step 1 Stay stitch neck,armscyes and sleeve top.
Step 2 Stitch darts.
Step 3 Attach the belt to the body.
Step 4 Stitch button stands. Right side should overlap the left side. Extension is stitched to the left side and right side is finished with a facing.
Step 5 Join shoulders.
Step 6 Finish neck line with Piping or flat facing
Step 7 Hem the lower edge of the sleeves and back.
Step 8. Attach sleeves to the body, matching center line of the sleeves to the shoulder line and easing wherever necessary.
Step 9 Stitch sides of the sleeves and body.
Step 10 Sew hook on the underside of right button stand and work eyes on the right side of left front facing